(I just realized it’s been over a year that I’ve written anything on this blog. You may also have noticed that it looks a little bit different now. This is because I intend on making this blog a part of a bigger website – a homepage, if you will.)
Why Aegis?
I’ve been jumping between different two factor authenticator (2FA) apps the past year or two. I had earlier for a long time settled for Authy, mostly because I wanted to get away from Google and Microsoft. This app seemed robust enough, had some customizable logos for the connected services and also employed a backup feature – which at the time was MIA over at Google’s and Microsoft’s departments. It also had a desktop version that was synced, which at least at the time seemed like a good idea.
As the months passed by I started slowly to realize the flaws in Authy. Not only could you actually not customize the logos yourself, but the search engine used was simply a Google image search wrapper; meaning that logos showed up that either aesthetically didn’t fit or was totally unrelated to the service you tried to configure for. I tested this theory by simply searching for some random crap and Authy downloaded the image without hesitation.
Not only that, I realized that while it’s nice to have the OTP’s synced between devices, it did this through centralization. This, in my opinion, isn’t secure at all and could potentially invade my privacy.
Enough about Authy. I’ve moved on, and so should you.
 So what makes Aegis any different? Well, first and foremost, it’s completely free (as in libre) and open source software not developed or run by a for-profit corporation.
This means that not only is the code available for anyone to examine and contribute to (which, contrary to popular beliefs is actually very important for security applications), it’s also available to download without the involvement of Google as it’s available through the F-Droid repository.
Second, it has all the features needed for a proper 2FA application and some quality-of-life improvements over its competitors, which I’ll get into shortly.
The only real downside for Aegis is that it’s not available for iOS. But if you’re using iOS, you’ve got other problems to attend to. Yes, by all means, please be offended.
Features
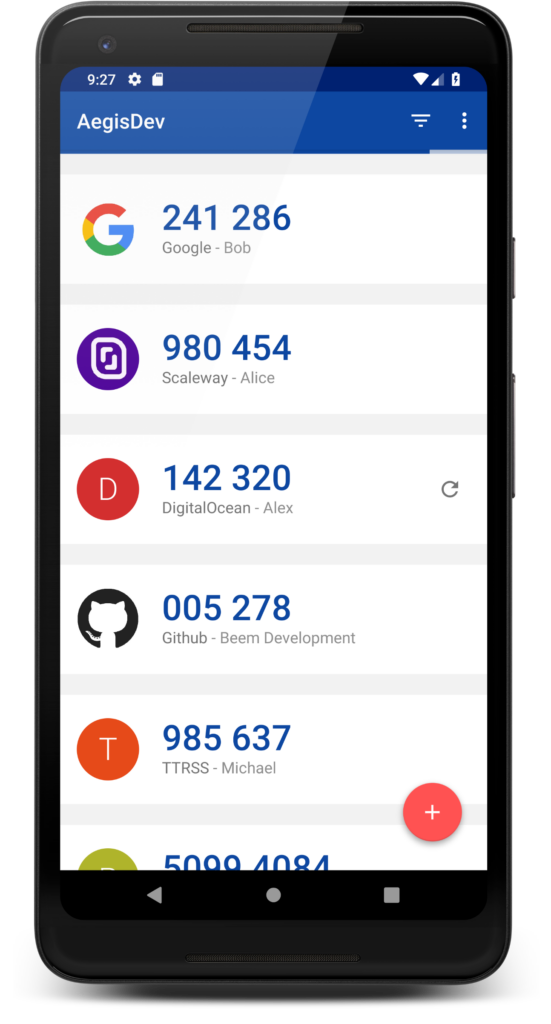
Customizable views
This is one of the most important features for me, as I’ve got almost all my accounts configured with 2FA and will be picking up my phone several times a day to fetch their one-time codes.
Since Aegis allows you to pick your own icons, or even download icon packs from them, the account is instantly recognized through its branding. And for a better overview, you may also configure how the codes are displayed in different sizes: normal, compact, small and tiles. I personally like the setting “small”.
You can also separate the codes between groups. Say you want to have your work OTP’s in the same app as your private, you can create a group for those and have those filtered out by default. This is especially useful if you have two or more different accounts on the same service.
Security
The configurations are safely stored on your device with encryption, which can be unlocked by a password or by using bio-metrics such as fingerprints and/or face unlock. It also allows for a separate encryption password for the backups, should you want an extra layer of security.
Aegis can also be configured to disallow screenshots from being taken, should you ever have been infected by malware that tries to steal your OTP’s. You can also configure to have the codes be hidden from prying eyes until you tap on them.
These are just a few of the security settings I figured was worth mentioning.
Backup, import and export
Another key feature is being able to restore your 2FA configurations should your device ever be lost. Instead of having the vault sync using a centralized service, you can configure continuous backup instead.
Since the vault is encrypted, this means you can put your backup wherever you want. You can use your device’s automatic cloud backup as well as backup through Storage Access Framework in Android, perfect if you’ve got a personal Nextcloud server.
If you’ve got multiple devices, these can be synced using the import/export functions of the app. You can also use the import function to fetch configurations from other 2FA apps, but unfortunately it does not support Authy (this isn’t Aegis fault though, it’s simply because Authy doesn’t support export at all.)
Final words
I mean, there isn’t much else I can share with you guys. It’s only a 2FA app, after all.
It works securely and with personal customization, it’s open and free and has awesome features. So if you’re ever in need of two factor authentication, look no further than Aegis.